The PCB layout module in Proteus 8 Professional supports:
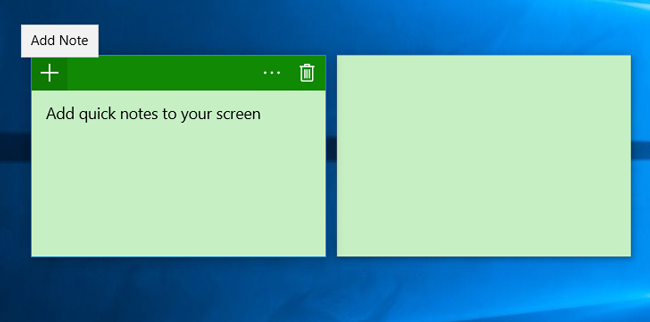
对于电子工程从业者、嵌入式爱好者以及相关专业的学生而言,Proteus 8 Professional 多语言完全版不仅是一款软件工具,更是一个集设计、仿真与验证于一体的综合开发环境。它打破了硬件限制,允许用户在纯软件环境下即可完成从代码编写到 PCB 制板的全部流程。无论是进行单片机项目开发、电路原理验证还是 PCB 制板前的最终检测,Proteus 8 Professional 都能提供专业、可靠且全面的解决方案。
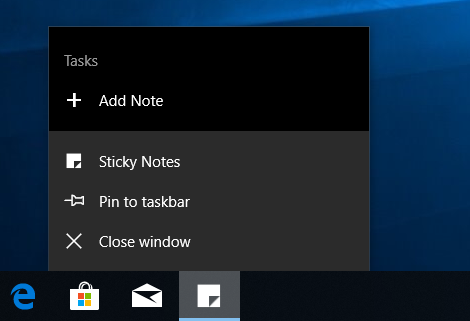
Before unpacking the "Multilingual Pack Full" designation, it’s essential to understand the core software. Proteus 8 is a major release from Labcenter Electronics, marking a shift toward a unified, tabbed interface that integrates all design tools into a single environment. Unlike its predecessor (Proteus 7), version 8 introduced an intuitive "Project Clipboard" and seamless switching between schematic capture, simulation, and PCB layout. proteus 8 professional multilingual pack full
The Proteus 8 Professional software remains an indispensable tool for anyone serious about electronics and embedded systems design. The power to design, simulate, and prototype entirely in software, all within a unified interface, is a game-changer. The demand for a "proteus 8 professional multilingual pack full" highlights two major user needs: accessing the complete, unrestricted feature set of the Professional version and using it in a familiar language for easier learning and faster development.
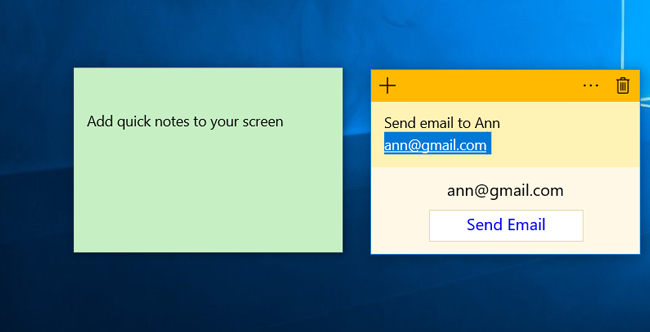
This module handles schematic capture. Users place components, wire them together, and prepare the logical blueprint of the circuit. A deep library of thousands of components is available, ranging from simple resistors to complex microcontrollers. 2. PROSPICE (Mixed-Mode SPICE Simulation) The PCB layout module in Proteus 8 Professional
Non-native English speakers can navigate complex design rules, configuration menus, and simulation parameters faster.
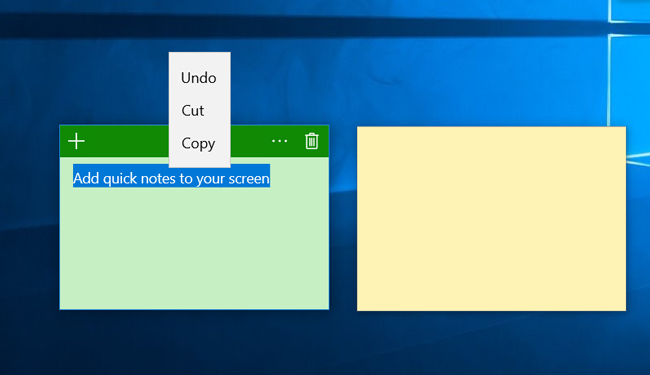
Used for PCB layout, offering tools for component placement and automatic routing. The Multilingual Experience The Proteus 8 Professional software remains an indispensable
Supports complex bus structures and multi-sheet designs for enterprise-level projects.
If you have a legal copy of Proteus 8 but need additional languages:
: Full professional features, including advanced simulation and manufacturing outputs, require a paid license.